How to Set Up Blink Mini
Follow these steps to Set Up your Mini camera to a new, or existing Blink system.
1. 1. On the Blink app Home screen, tap the + icon in the top right corner.
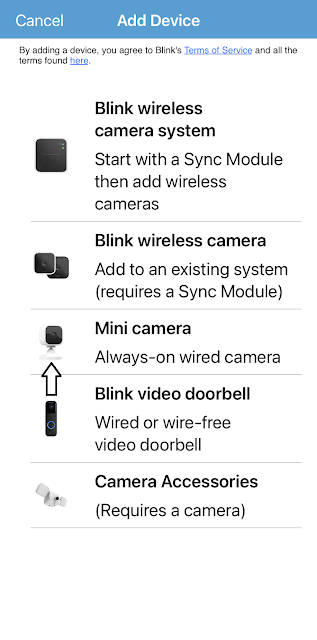
2. Tap the Blink mini camera as indicated by an arrow in the image below. You are taken to the “Scan QR Code” screen, where your camera may request permission to scan the QR code.
This is a way to enter the serial number automatically. You may enter the number manually instead. After the device is recognized, it needs a system.
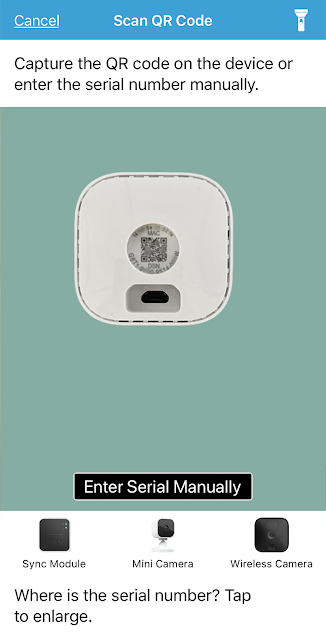
Note: If your camera does not focus correctly on the QR code, add more light to the scene, either with the camera flash or room lighting.
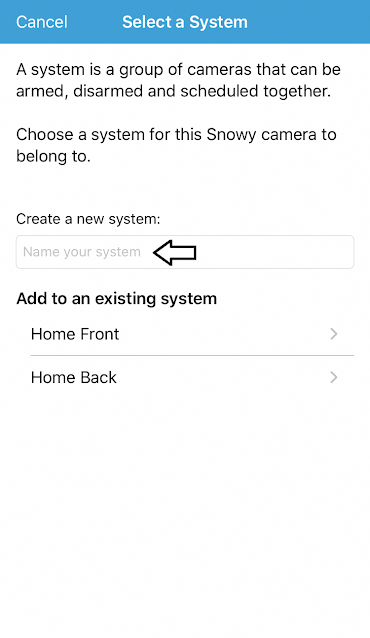
3. If you want to add the Mini to a new system, give your system a name in the text entry field, and it will be created.
When adding the Mini to an existing system, just tap the system name to continue.
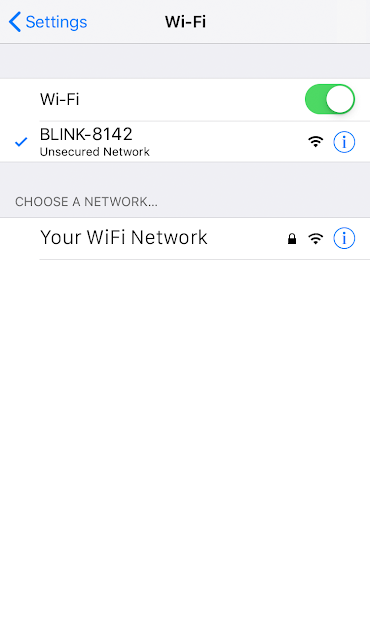
4. After selecting “Next”, you will be instructed to connect your camera and wait for one light to flash blue and another to be solid green. If this is the case, tap "Discover device", and a connection request appears: "Blink" would like to establish a connection to the "BLINK-XXXX" network.
.gif)
.png)
Note: If you don't see the above blinking blue light pattern, then you may need to reset the camera. Click here for more information.
5. Tap "Join"and then choose your Wi-Fi network from the screen that appears. If you add the camera to an existing system, make sure you choose the same WiFi network that your other devices are connected to.
.png)
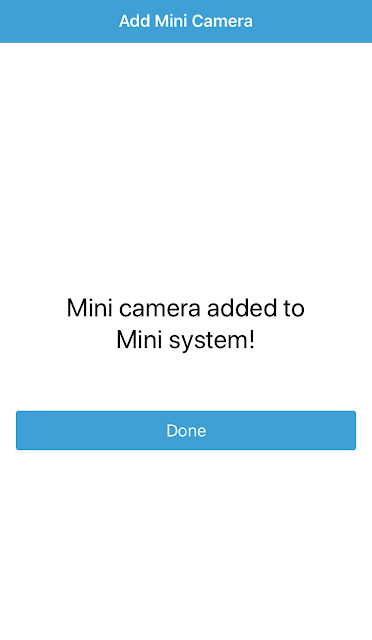
6. When the Blink servers are ready, the Camera Added screen is shown. Tap Done to complete the setup and return to the app home screen.

Comments
Post a Comment